How to Lace a Corset: A Step-by-Step Guide for a Flawless Fit
For centuries, corsets have been associated with class, flair, and enduring style. They are historical, practical wearables as well as fashion accessories, and their place in different continents’ wardrobes will still be found. But for most people, the art of lacing a corset may seem to be an uphill task.
With its complicated structure and close-fitting components, lacing a corset will take some time and skill to get it right. However, do not be concerned! Whether it is a wedding or just the desire to master the corset, this article will help you understand how to lace a corset with two strings, getting the desired and proper touch.
Introduction to Corset Structure
Most corset designs have boning and panels and a back that can be laced up to adjust the size. Speaking of the corset lace-up process refers to putting the lace through the brass or metallic rings at the back of the corset.
The laces can be tied up in several different ways according to the corset style and the effect wanted. All who have used some corsets know that a few of them have laces attached already but lacing one’s corset is the better option as one can get a good fit.
Step-by-Step Guide to Lacing a Corset
At this point, let us walk through the process of how to lace up corset while achieving a stunningly flattering waistline with no pain whatsoever.
Step 1: Dress Your Corset
Place the corset on a flat surface, while making sure the corset lacing is completely untied. This will make the process of wearing the corset a bit smoother and guarantee that the adjustments can be made efficiently.
Threading the two strings should commence when each of them appears tidy and properly equal in size. Using two strings to lace a corset is a popular practice as it provides more strength and encourages symmetry.
Step 2: Begin with the High Take Gaps
First lace the cannery inserts of the corset by passing the laces outward through the top two grommets corner. This is for a topmost loop in forming the lace of the corset. Allow lacing of the ends in such a way that the distance from the tip of the lace to the crown is the same for both ends. This is needed to avoid the twisting of the lace as the corset is laced down.
Step 3: Lacing in Criss-Cross Pattern
Lace in the same manner as before, using the laces by pulling them from the inside of the corset towards the outer side through every other pair of grommets fixed at the back of the corset. This method of criss-crossing is the most widely used and helpful in offering the required tension evenly on the corset when you lace up corset.
It is advisable to tension the laces as directed but not to the extent that they become extreme. In addition, make sure that each criss-cross is made tighter to eliminate any chances of the corset lace-up being slack.
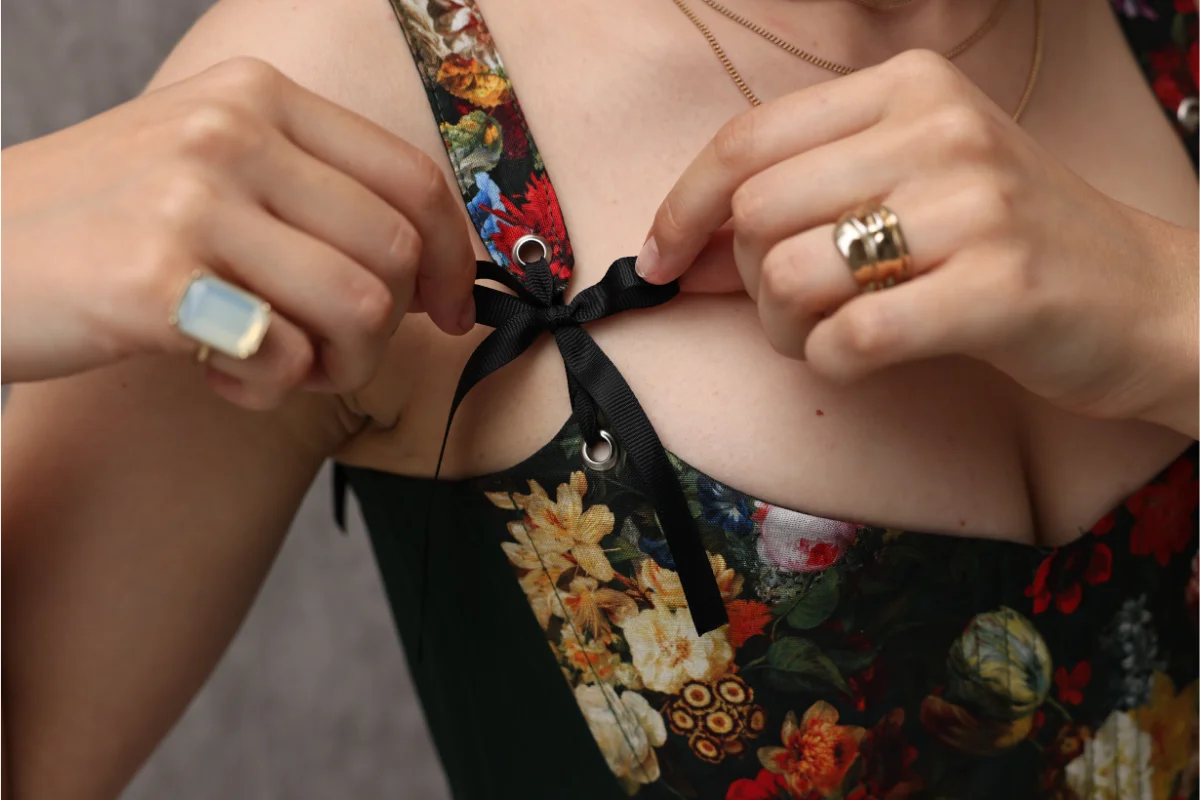
Step 4: Making A Looping Bunny Ear
As you get to the intermediate grommets, from the two ends of the corset lace two laces out and form two loops also termed “bunny ears”. These loops will serve as a way to tighten the corset.
The 2 laces should go around the middle of the waist, as this is the area that requires most of the pulling in. This is an important step to consider when appropriate fitting of the corset is desired.
Step 5: Tighten the Laces
This is the fun part, people! Pull on the bunny ear loops you the bunny created earlier, and tighten the corset. Pull to the outside as you will feel the waist of the corset start to draw in.
Keep pulling the loops in place till the waist cincher feels tight yet easy to breathe. Not too tight as to prevent you from breathing for instance by lacing a corset too tightly. Usual moderate restraint is not uncomfortable sufficient to beg such measures.
Step 6: Tie the Corset
Finally, after tightening the laces to your satisfaction, it is time to complete them. All the excess laces are pulled towards the back of the corset and tied into a firm knot, or a bow or tucked in and done.
Then for the waist laces you can make sure they have no chance of coming loose by tying them in a double knot. And that’s it, a beautiful corset worn flawlessly!
How to Lace a Corset with Two Strings
In case you have two individual strings instead of a single long lace, the process is pretty much the same. So how to lace a corset with two strings? Starting from the top of the corset, use the first string downwards, then the second string, and finally combine the two strings to create bunny ears. Next, both sets of strings will be pulled tightly and knotted at the base for a tight fitting.
Typical errors that should be avoided
As far as the question of how to lace a corset is concerned, several general errors should be avoided to maintain both comfort and style.
- Overstraining: There is a risk of trying to make the corset very tight in the process of adding buckles. Such corsets may cause fainting and most importantly distress. There should always be room for air and movement.
- Lacing up the corset unevenly: When the laces within the corset are being fastened up, laces should be drawn tight at all places where they are present. Lacing in such a manner may cause an uneven silhouette, and result in unpleasing features for the wearer.
- Not performing multiple bunny ears: The bunny ear loops located in the middle of the corset assist in devil watching very well – the art. Ignoring this step may risk having a very awkward fitting corset.
Learning how to lace a corset is not only a necessary skill but it can also be described as an art. With some effort and focus on the elements involved, one can perfect the corset lace-up process and attain that sophisticated fit every time.
Whether it is attending an event that requires dressing up, corsets are being integrated within one’s normal wear, or even wearing turns of fashion from the past, being able to understand corset lace up to the right fit is key in enhancing one’s beauty and comfort.
So, do not hesitate, give these a try, and zealous corset lacing—the art that brings out elegance and confidence in a woman by only cinching her waist well—Order now before we run out of stock again.